In my perpetual battle to improve my sleep schedule I sometimes ponder ways I can have my machines help save me from myself. Escaping doomscroll is currently an important one for me, I’ve caught myself many times snapping out of a YouTube short binge wondering where the last 20 minutes had gone.
A few weeks ago I read about others using scheduled greyscale filters on their phones to help make them less addictive. Pondering this, I thought it might help me with closing my laptop at a respectable hour. After learning how to create my first automation with AutoHotkey, and scheduled task with Task Scheduler, I came up with a solution to implement this on my laptop.
Below I have covered the software and process I used that you can try for yourself.
Goal
This is what we’re aiming for, when it’s time to wind down for bed the computer will automatically enable greyscale so that all those YouTube shorts are less distracting and we give ourselves a better chance of escaping the doomscroll.
Prerequisites
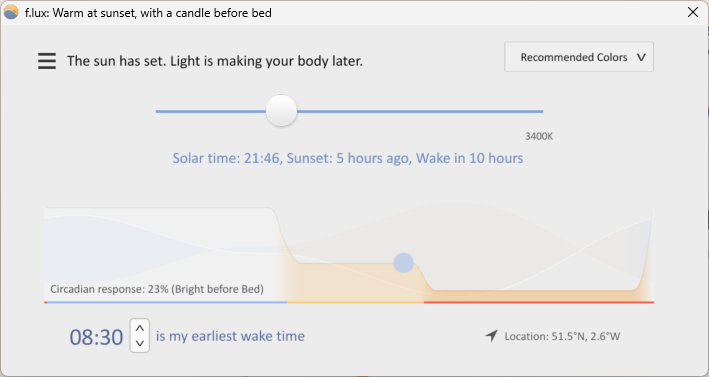
f.lux – https://justgetflux.com
…it makes the color of your computer’s display adapt to the time of day, warm at night and like sunlight during the day…
https://justgetflux.com
f.lux is going to be providing our greyscale filtering through a handy keyboard shortcut that we can trigger whenever the application is running, even if it isn’t focused. It also provides a powerful alternative to the Windows Night Light (getting rid of blue light and helping us wind down when it gets late).
I installed it with Scoop but you can also grab it from their website:
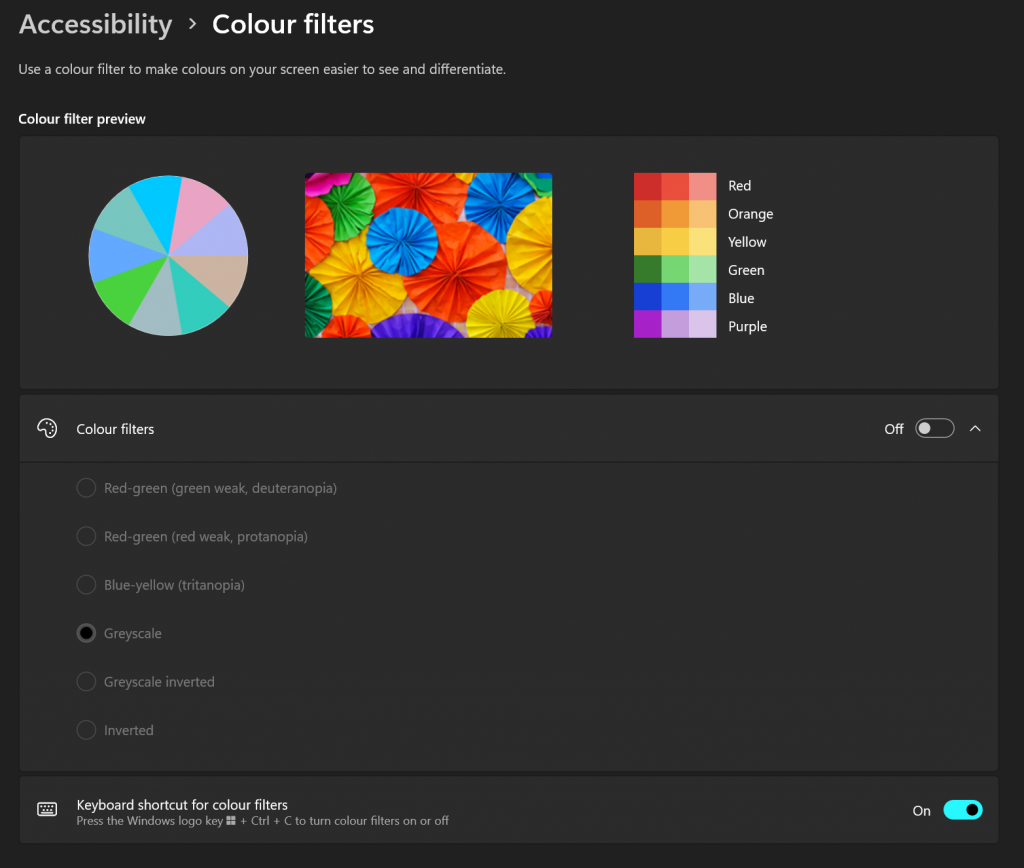
21/02/2026 UPDATE: It’s also possible to achieve this colour filtering with Windows accessibility colour filters, you just don’t get the nice transitions.
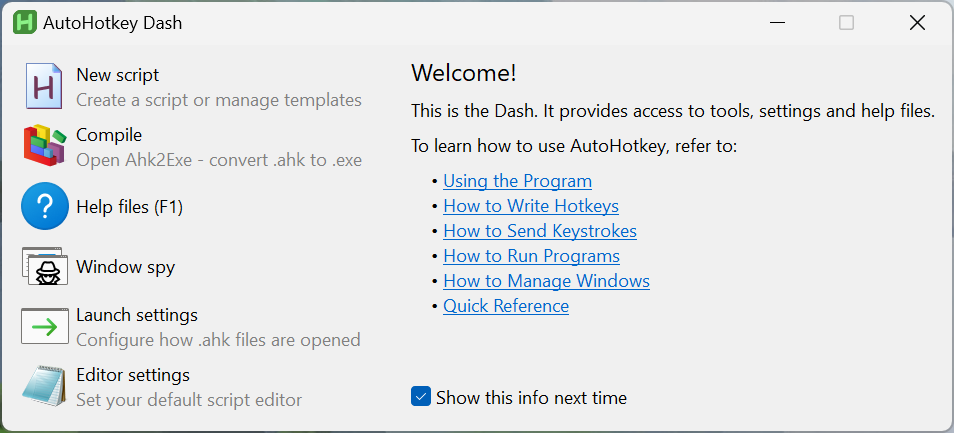
AutoHotkey – https://www.autohotkey.com
The ultimate automation scripting language for Windows.
https://www.autohotkey.com
AutoHotkey is a powerful automation tool that allows us to create scripts for automating tasks. We will be creating one that can send the keyboard shortcut that triggers f.lux’s greyscale filter.
Task Scheduler – Available on Windows
Task Scheduler is the final piece of software in our automation chain. It is going to call the AutoHotkey script when we tell it to, triggering the f.lux greyscale filter and giving us a chance to escape to our awaiting beds.
Task Scheduler is a piece of Windows software (it’s probably already scheduling a bunch of tasks you aren’t aware of). Just open the start menu, search for Task Scheduler and it should be ready for you.
Setup
1. Run f.lux
We will need f.lux running for all of this to work so make sure you have it started.
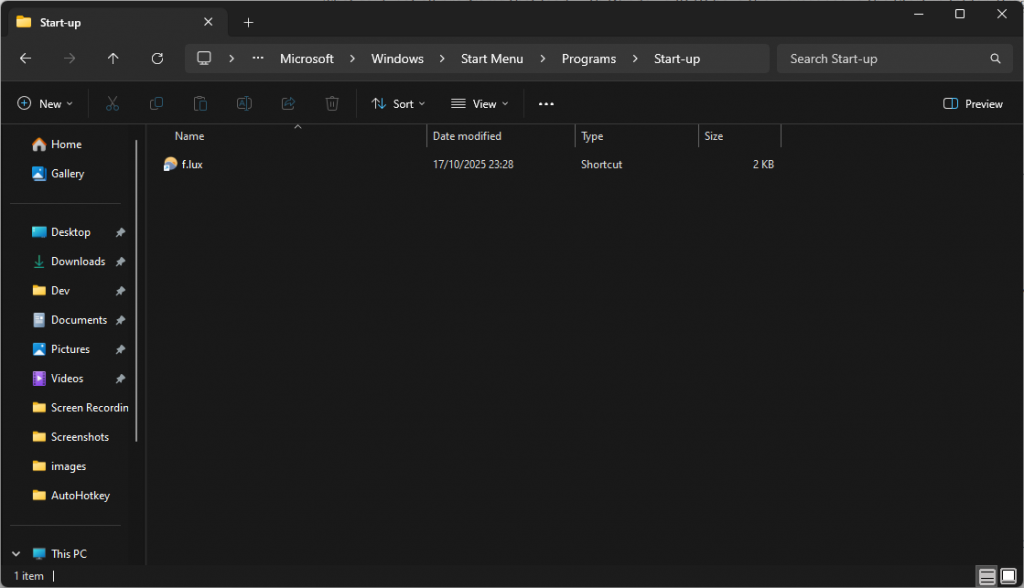
In order to make our plan foolproof it’s a good idea to make f.lux launch on system startup. The easiest way I found to do this is to drop the f.lux shortcut into the startup folder.
C:\Users\UserName\AppData\Roaming\Microsoft\Windows\Start Menu\Programs\Startup
https://www.intowindows.com/location-of-the-startup-folder-in-windows-10/
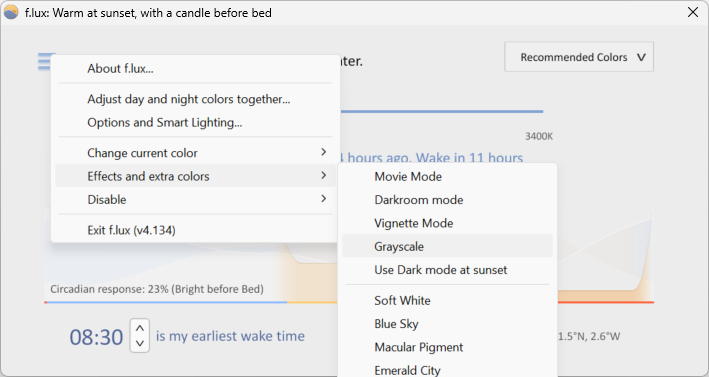
Now is also a good time to check greyscale is working as expected. You can access it through the settings menu and then in the effects sub-menu.
It can also be triggered by pressing the win + e keys together. This is a linchpin in our plan so give it a go!
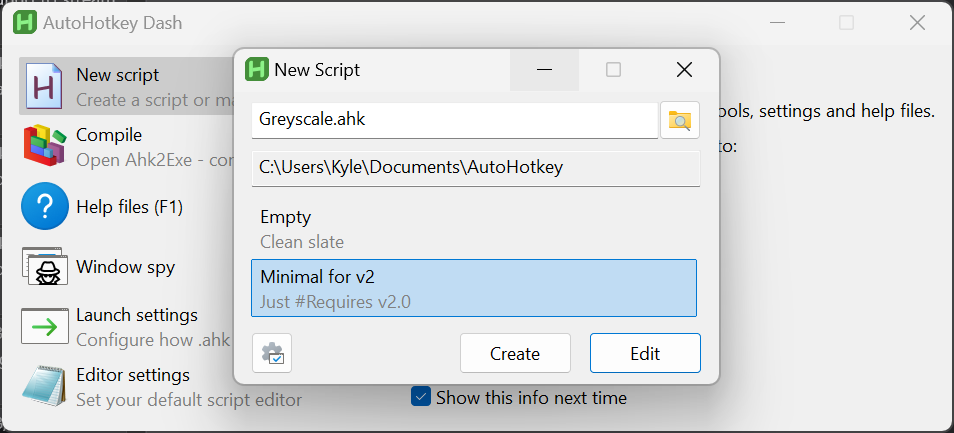
2. Automate with AutoHotkey script
Next we need to setup an AutoHotkey script that will handle sending the win + e keyboard shortcut for us. We start by creating a new V2 script as follows.
Then we can add the code that will send the desired button presses. This makes use of the Send command which you can find more information about here. This is what we end up with.
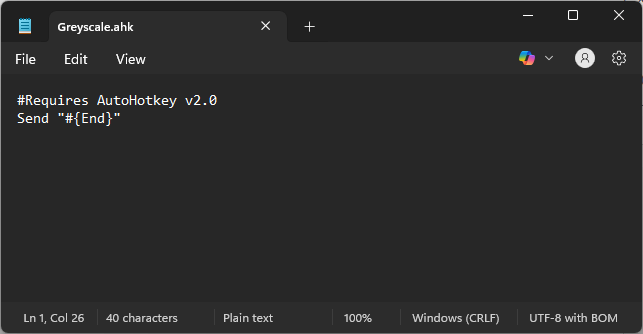
#Requires AutoHotkey v2.0
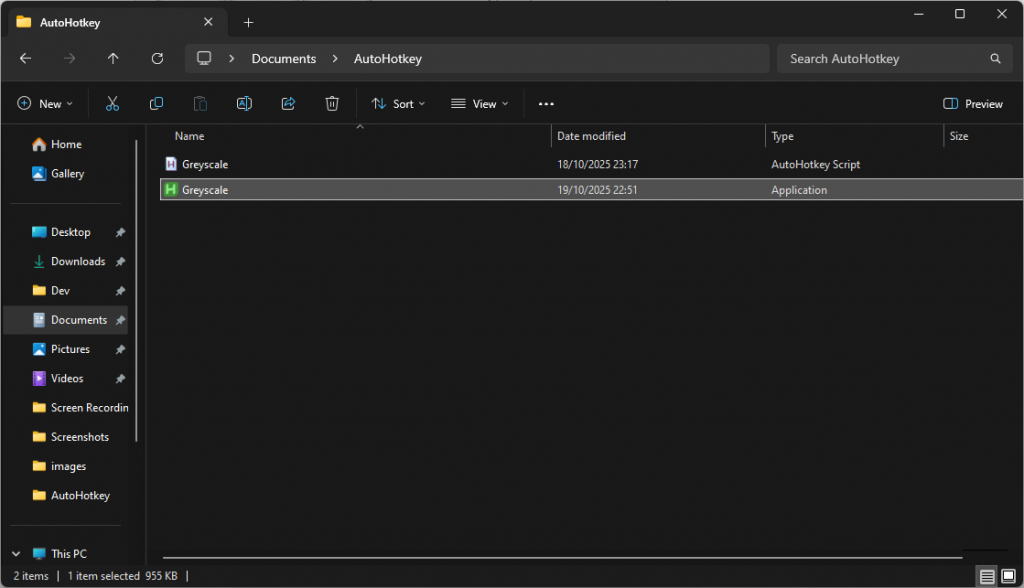
Send "#{End}"In order to allow us to execute that script directly as its own application we’re going to compile it to an .exe using AutoHotkey’s Compile functionality.
We simply select our .ahk file and hit convert.
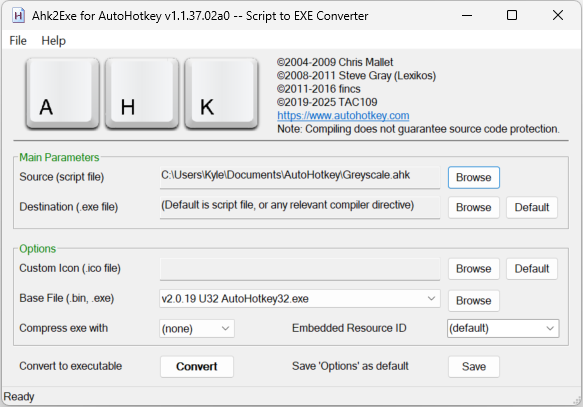
Which leaves us with our original .ahk script and the new .exe. You can run both now to double check they work.
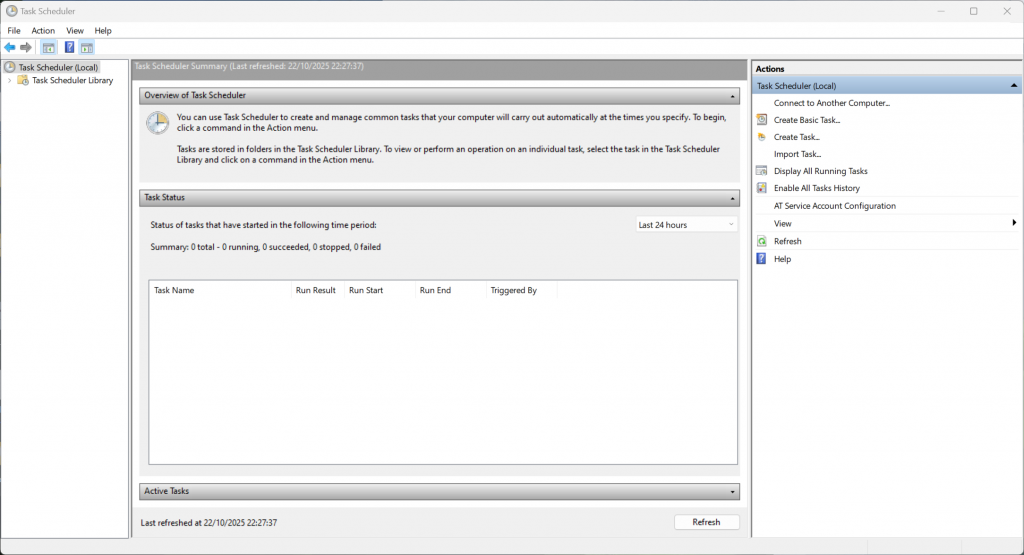
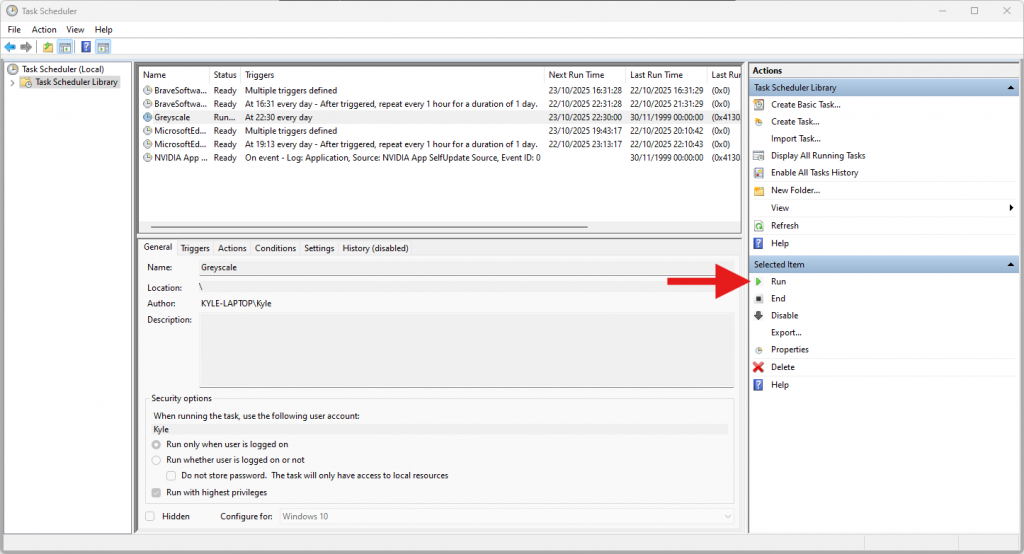
3. Schedule with Task Scheduler
Now the final thing to do is to schedule our new script to run when we want to trigger greyscale. It’s fairly self explanatory with Task Scheduler. You setup a new basic task, pick when you want it to run (I set mine to 10:30pm every day), and then tell it which program to execute. I had to tick the box to allow the script to run with highest privileges in order for it to work for me. I’ve recorded my setup in the video below.
Once that’s setup you can try manually triggering the task with the option in the sidebar. If everything is setup correctly your greyscale will enable when you run the task!
And that’s it, you’re now better equipped to do battle with the doomscroll.
Summary
At 10:30pm, if I’m still at my desk, my screen slowly drains of colour and I’m reminded that it’s time to start getting ready for bed. It’s not hard to keep working if I’m in the middle of something but it gives me a nudge to start making some good decisions and I think that’s a valuable addition to my setup.
Leave a Reply